I've set up a mirror site here:
http://samvskitchen.blogspot.com/
(This way the blog name and the domain name match). This site isn't going to be deleted, but I will use the other address for further updates. Please update your bookmarks accordingly, and sorry for any confusion. I figured it was best to address it earlier rather than later!
Sam
Monday, April 19, 2010
Friday, April 16, 2010
Maple Cinnamon Oatmeal Cookies

I was recently commissioned by a friend to make cookies for a meeting to which he was supposed to bring refreshments. The only difficulty was that it was a morning meeting, and he wanted more breakfast-themed cookies. We chatted about it and came up with a few ideas, which I will be posting individually.
The first, most obvious, idea was oatmeal cookies... oatmeal is a breakfast food, and therefore so are oatmeal cookies. This is my logic, and it has served me well all my life. I threw in maple syrup for good measure. The caveat is that these are not super maple-y. If you want a stronger maple flavor you could probably throw in 1/2 tsp maple extract. I didn't simply because I don't have it on hand.
Please do use real maple syrup. I'm not generally fanatical about foods, but there are a few things I absolutely detest: hydrogenated margarine, artificial vanilla and fake maple syrup. This unholy triumvirate may well lead to the decline and fall of Western civilization, if you ask me.
Maple Cinnamon Oatmeal Cookies
Beat together until totally mixed:
1/2 C (1 stick) butter
1/2 C brown sugar
Add in and beat until mixed:
1 egg/egg replacer*
2 tbsp maple syrup (preferably grade B for more maple flavor)
In separate bowl combine:
1 C flour
1/4 tsp salt
1/2 tsp baking soda
Add flour mixture to butter/sugar mixture, stir until mixed.
Add:
1/2 C oats
1/2 C cinnamon chips (sold by Hershey's)
1/4 C raisins (optional)
Stir until blended.

Roll dough into 1-2" balls. Because of the raisins and chips the balls might not be perfectly circular, that's fine.

Squish the balls a little with a fork or your fingers so that they are flat on top, then bake at 350F for ten minutes.

Nom cookies. Not to be arrogant or anything, but I honestly believe this is one of the finest recipes I've ever developed. They really are good.
*Note: I used egg replacer powder and omitted the water. If you're using a real egg you may have to add just a couple of tablespoons of flour to make up for the extra liquid. Only do this if the dough seems really sticky.
Lemon bars

I am a huge fan of lemon bars, so much so that I can only make them if I have an opportunity to give them away. Otherwise I am entirely capable of eating an entire pan by myself. So when a friend came to visit last week I was pretty excited when she said that she liked lemon bars.
I always use this recipe, with (of course) modifications. Because, seriously? Two full cups of sugar in the lemon layer? I don't think so.
Recipe:
Preheat oven to 325F
Line a 9x13" pan in aluminum foil, then spray foil with pam (you can skip the foil if you really want to, but it makes removing the cookies later a heck of a lot easier).
In a blender, food processor or with a pastry cutter, blend:
1 C (two sticks) butter
2 C white flour
1/2 C confectioner's sugar (aka 10x sugar or powdered sugar. Normal sugar really won't work.)
This works best if the butter is cold; taking it straight out of the fridge works best. While I have used my stand mixer for this step, the texture is better if the dough isn't really blended together. You're looking for something that appears to be crumbs, rather than a smooth dough:

Dump the dough into the pan, spread it out as evenly as possible, and press down firmly. You want it to be about even thickness across the pan, but since it's going to be covered up by lemony goodness it doesn't have to be beautiful:

Stick this in the oven for 18-20 minutes, or until it is just *barely* beginning to turn a little bit brown at the edges.
While the crust is baking, blend the following until completely mixed:
1 1/2 C sugar
1/4 C flour
4 eggs (not egg replacer)
1/3 C lemon juice (about what you get from one large lemon. I sometimes add in a little extra since I have lemon juice in my fridge at all times
~1 tbsp lemon zest (about what you get from one large lemon).
Notes:
1. If you mix the sugar and flour together before adding anything else you're less likely to get clumps of flour in the batter.
2. I use a microplane zester to zest the lemon. Basically you grate off all of the yellow part of the lemon skin, leaving the white part underneath untouched. The best way to deal with the lemon is to do this first, then cut the lemon in two and squeeze the juice out.
Once this is completely blended, pour it over the prepared crust. It's ok if the crust hasn't totally cooled.

Bake for 20 more minutes, or until the lemon mixture is set. Again, you should only see the faintest of browning on the top of the bars when you take it out. If you leave it in too long the bars are kind of dry and have a funny texture. Here's how it should look when you pull it out of the oven:

Add lots of powdered sugar with a sifter (I've also used a tea ball for this. Open the tea ball, spoon in some powdered sugar, close the tea ball, then shake it over the cookies. This works really well, actually).
Finished cookies:

Wait until the bars are completely cooled before cutting, or you will make a mess. As a side note for those allergic to milk: I have personally made these using Earth Balance sticks instead of butter and it works just fine.
COMMON ABBREVIATIONS
I generally use imperial (volumetric) measurements because most cookbooks in the States still use this system for reasons I cannot fathom. For those unfamiliar with these measurements (which I firmly believe were invented by chipmunks on crack), here are a few useful conversions and abbreviations:
C: Cup
tsp: teaspoon
tbsp: tablespoon
g: gram
oz: ounce
Good to know:
1. There are 3 teaspoons in 1 tablespoon
2. There are 16 tablespoons in 1 Cup
3. There are 8 fluid ounces in 1 Cup
4. There are 2 Cups in 1 pint
5. There are 4 Cups in 1 quart (which is roughly equal to 1 liter)
C: Cup
tsp: teaspoon
tbsp: tablespoon
g: gram
oz: ounce
Good to know:
1. There are 3 teaspoons in 1 tablespoon
2. There are 16 tablespoons in 1 Cup
3. There are 8 fluid ounces in 1 Cup
4. There are 2 Cups in 1 pint
5. There are 4 Cups in 1 quart (which is roughly equal to 1 liter)
Wednesday, April 14, 2010
Mom's Neutron Torte
This is my mother's (in)famous chocolate torte recipe (also known as "neutron torte" or "instant heart attack inducer torte"). She has kindly given me permission to post this recipe. For those people in my department, this is what I brought to the MMG department party two months ago.
I've adjusted mom's recipe to make only one torte. She always makes two and freezes one if she doesn't need the second one immediately; I simply don't have the freezer space to do so. I've also added hazelnut to the glaze, which I quite like.
Recipe:
Snap out the bottoms of an 8" springform pan (flat bottomed preferred). Cover bottom of pan with foil, snap it back in, butter the sides and the foil-covered bottom (or spray with pam, that's what I do).

CAKE:
Separate 3 eggs (save both whites and yolks).
Mix together:
2 melted sticks butter
1.5 C sugar
1 tsp bourbon vanilla
1/8 tsp salt
Add in and beat together until totally blended:
1/4 C cream
3 egg yolks.
Mix together in a separate bowl:
1 C flour
2/3 C cocoa powder (NOT hot chocolate mix). Either dutch processed or normal cocoa will work, they'll just give slightly different flavors. I use whatever I have on hand.

Add to butter mixture and mix until till smooth.
Beat separately:
3 egg whites
1/8 tsp. cream of tartar. Underbeating is better than overbeating.

Side note: do you have any idea how hard it is to photograph white whipped egg whites in a white bowl sitting on a white stove? Yeesh.
Fold egg whites into chocolate mixture:

You really don't want to over-mix, or you'll lose all that air that you so carefully beat into the egg whites. Here's what it should look like shortly before you put it in the pan:

And here's what it looks like before baking:

Put in the pan and bake at 350 for 45 minutes. Center will not be solid, and cracking should appear. Run a knife carefully around outer edges; cake will fall.
Cool at least an hour. Loosen springform sides and remove. Put a plate on bottom of cake and flip over. Peel off bottoms of pans, then the foil. Glaze when fully cooled.
GLAZE:
Chop:
1/2 lb (250 g) bittersweet chocolate (we use Trader Joe's pound plus bars)
Add:
2/3 to 3/4 C cream
1 tsp hazelnut extract (this is what I do, mom has done mint before, which is also very good. My next plan is to try raspberry extract).
Melt chocolate in cream using a double boiler or microwave (I use a microwave). Try not to incorporate extra air in as you stir or you'll get bubbles, which are annoying. Also, it is important that every edge of every piece of chocolate be dunked in the cream before heating or that piece of chocolate may seize into a hardened, unmeltable lump.
When glazing, mom makes a backwards J from the center, turns the cake slightly, and repeats all the way around. If you use the smaller amount of cream the indentations will be clearer. When I make these I then stick the glazed torte in the fridge until the glaze sets. Once it has set you can run a knife around the bottom, insert a spatula under the torte and lift the whole thing to a new (clean) plate, which is prettier than leaving it on the plate you used while glazing the torte.
Note: my mom uses manufactoring cream for this recipe, which has a higher saturated fat content, so it holds shape better. I just use regular heavy cream, and I think it works just fine.
Mom-safe chocolate raspberry cookies

I made these for a meeting this week and they went over very well. In fairness, I suspect that anything with chocolate would probably go over well at any meeting that starts at seven on a busy Tuesday evening, but I still think it's a good recipe.
As usual, I'm only getting around to actually updating this blog because someone(s) asked for the recipe. I like to think that I'm not so much "lazy" as "insanely busy." But that may be denial; it's probably a little of column A, a little of column B.
Anyway.
Mom-friendly Chocolate Raspberry Cookies: (The last recipe I designed wasn't something my mom could try because of health constraints, so I made sure this one is. This means it can't have any nuts or seeds, hence the use of raspberry extract rather than preserves, jam, etc.)
Blend together until completely mixed:
1/2 C butter
1/2 C brown sugar (white sugar would work, I just happened to be out of it).

You really want the butter and sugar to be well mixed. I wait for it to look light and almost fluffy.
Add in:
1 egg/1 egg replacer equivalent (I used the replacer).
Mix well, then add:
1 tsp raspberry extract
1/2 tsp vanilla extract (use the real stuff, vanillin fake stuff is vile).
In a separate bowl mix: (candor compels me to admit that I don't bother with the "separate bowl" thing, but that's because I have a stand mixer so everything gets mixed fast. If you're mixing by hand you really should mix dry ingredients separately).
1/2 tsp baking soda
1/4 tsp salt
1/4 Cup cocoa powder (NOT hot chocolate mix)
1 Cup flour
Mix until blended, then add to butter mixture, and mix until flour is just barely incorporated. Then add roughly a cup of chocolate pieces of some variety. Here's what I used:

1. About 1/2 C chopped milk chocolate (Trader Joe's Pound Plus bar, thanks Mom for supplying it since I still live in this forsaken state that has no TJ store!)
2. 1/4 C dark chocolate (an extra half of a 85% dark lindt chocolate bar I had sitting around).
3. 1/4-1/2 dark chocolate truffles, chopped. A kind friend gave me a ton of these when I was sick last year, and I haven't been able to get through all of them, so I threw them in-- definitely a good move.
For those (like one of my siblings) who are allergic to milk, it would totally work with all dark chocolate. The chopped truffles are a nice addition, though, so if you happen to have dairy-free truffles on hand (don't laugh, many people in my family would have random truffles lying around) do chop a few and throw them in.
Mix in the chocolate pieces (this can be done with a stand mixer turned to low or just with a spatula).
At this point I rolled the cookie dough into balls (1-2" in diameter), stuck them on a cookie sheet and froze them. This is the best way to plan ahead for cookies when you know you won't have much time during the week. If you want cookies right away, obviously don't freeze the cookie dough.
Bake at ~350F* for 8-10 minutes (may take a couple minutes longer if dough is frozen). You want these cookies to look just barely undercooked when you take them out of the oven.

Directly after taking out of the oven sift powdered sugar on top of them. The first layer may melt a bit, that's ok. Just keep adding sugar until they look thoroughly dusted.
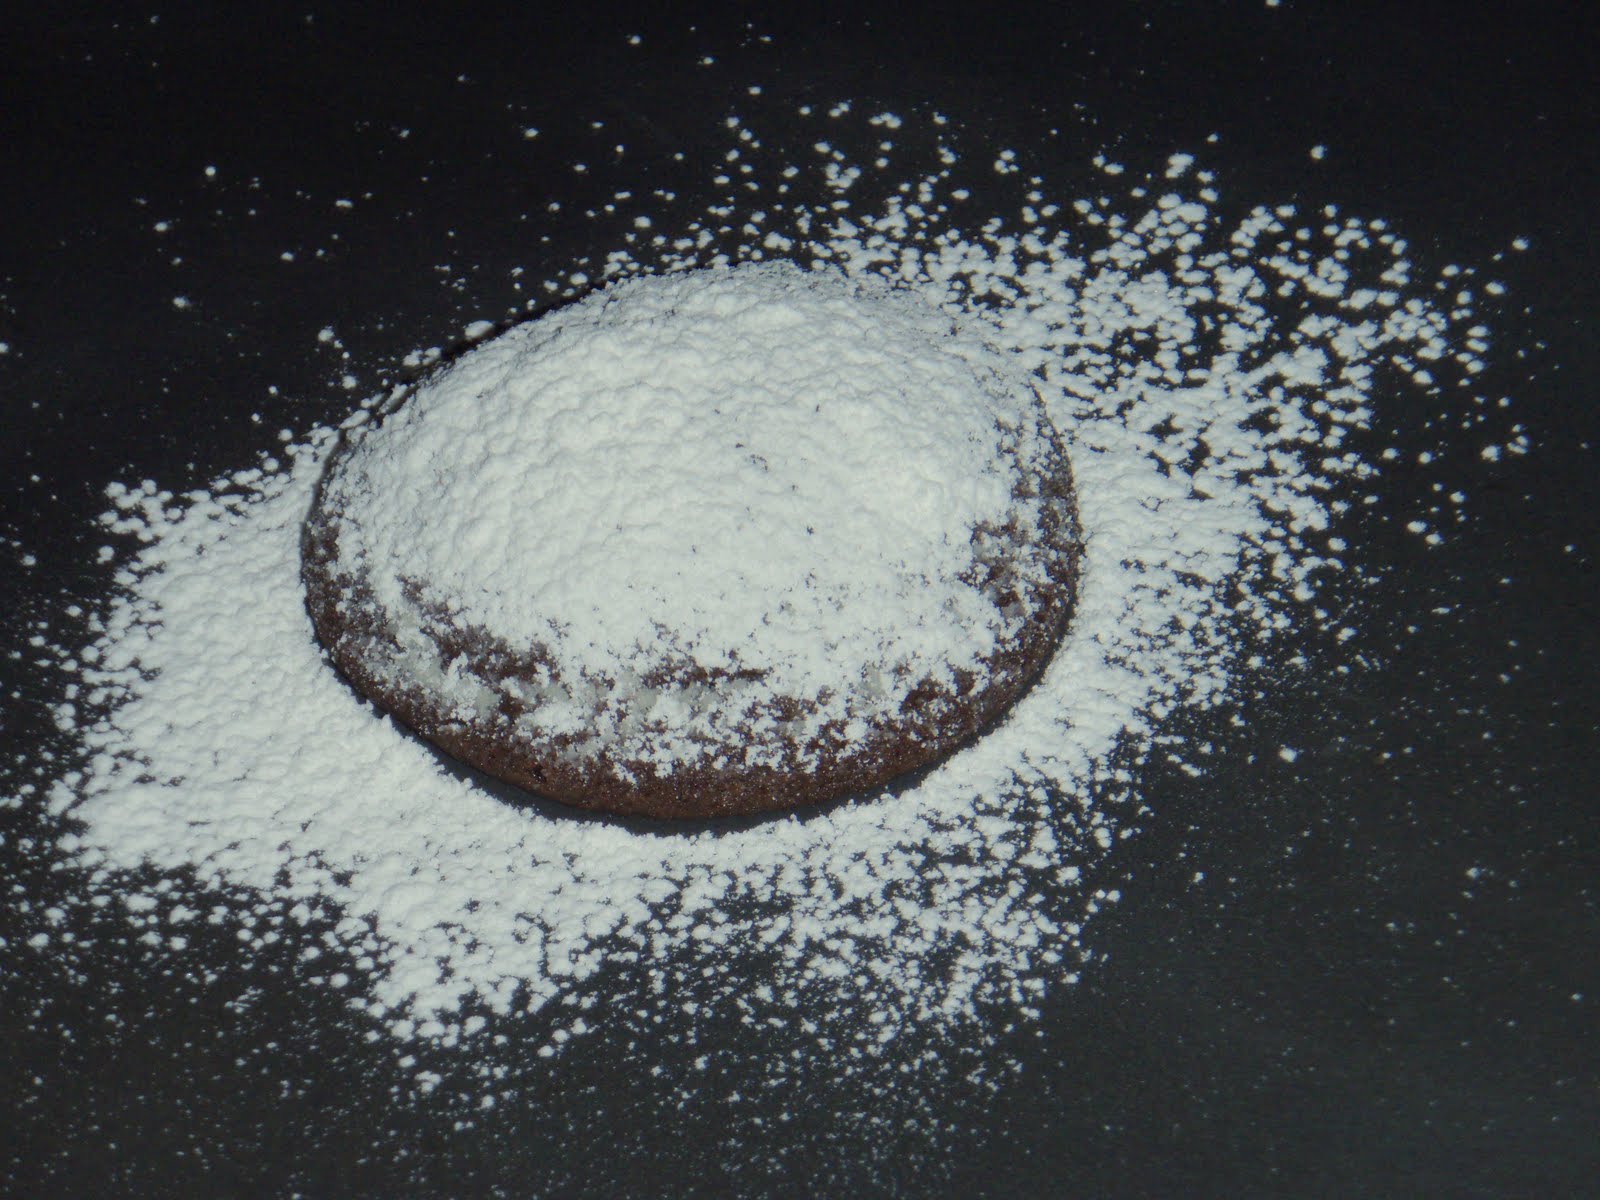
Let cool on the pan for about ten minutes, then loosen with a spatula. Add more powdered sugar if necessary. Note: it's not a great idea to package the cookies into a tupperware container before they are totally cool, or they'll kind of melt together. Nobody will be terribly bothered by this, but it is a bit of a pain.
*sorry about the iffy temperature. I live in a craptacular student apartment whose oven takes a somewhat stochastic approach to temperature regulation, so I have to guess what temperature it really is at any given moment.
Subscribe to:
Posts (Atom)